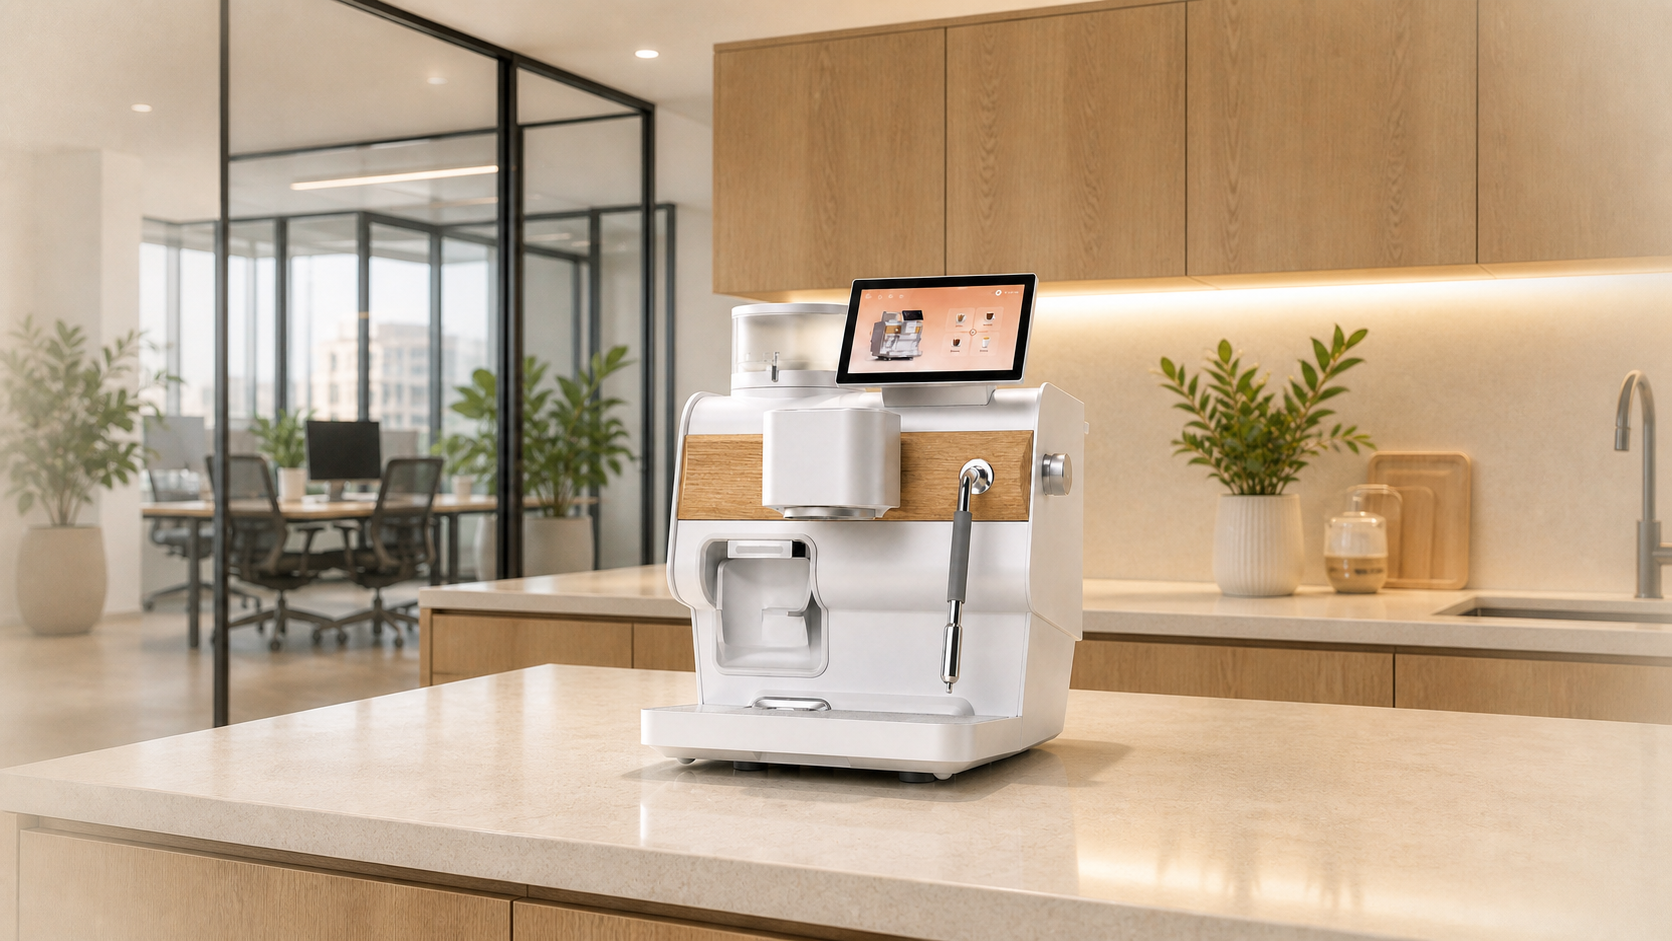
From removing the packaging and installing the water tank to the initial rinse and test extraction, follow these six steps in order to get your new espresso machine running safely and smoothly.
Estimated time15 minutes
Have readyDrinking water · Dry cloth
Ready whenWater flows freely · Ready for a test extraction
Quick Guide V1.0 · For common home semi-automatic espresso machines
Before you begin, place the machine on a stable, dry counter near a grounded outlet.
BEFORE YOU START
Take 60 seconds to check these basics first
Accessories and installation methods vary slightly by model; keep and consult the manufacturer's manual included in the box.
01
Work Area Safety
Keep the counter level, stable, and dry
Leave clear space around the machine for ventilation and filling
Use a grounded outlet that meets the rating on the machine's nameplate
02
What's in the Box
Main unit, water tank, drip tray, and power cord
Portafilter and single / double filter baskets
Tamper, milk pitcher, and cleaning accessories (refer to the packing list)
03
Inspect the Machine
Remove protective film from the machine, drip tray, and display
Check the water tank, plug, and machine body for shipping damage
Do not plug it in if you notice leaks, cracks, or unusual odors
15-MINUTE TIMELINE
Follow the timeline to finish setup
Start the clock while the machine is still in its packaging.
00:002 min
STEP 01
Unbox and remove protective materials
Support the bottom of the machine with both hands as you lift it out of the packaging. Remove tape, foam, and protective film. Keep the carton and packing materials for now, and decide whether to store them after confirming normal operation.
Complete when: All removable parts are out of the box and the machine shows no obvious damage.
02:002 min
STEP 02
Wash and install removable parts
Rinse the water tank, filter baskets, portafilter, drip tray, and milk pitcher with warm water, then dry exterior surfaces with a clean, soft cloth. Install the drip tray into its slots and press the appropriate basket into the portafilter.
Complete when: The water tank and drip tray are properly seated, and the portafilter locks in smoothly.
04:002 min
STEP 03
Fill with water and connect power
Add fresh drinking water to the tank, staying below the MAX line; press the tank fully into the valve seat. Leave the power switch off, then plug it into a grounded outlet that matches the rating on the nameplate.
Complete when: The tank valve is connected and there are no leaks around the machine.
06:003 min
STEP 04
Power on and prime the water circuit
Turn on the machine and wait for it to finish its self-check. If your model requires manual priming, follow the manufacturer's instructions to activate the hot-water or brewing function. Run the pump briefly until water flows continuously and without obvious bubbles.
Complete when: The pump sound becomes steady and the group head outputs a continuous flow of water.
09:003 min
STEP 05
Rinse the machine and test steam
Without coffee grounds, run water from the group head for about 10 seconds and discard it. Then aim the steam wand toward the drip tray, briefly open the steam valve to purge condensate, and wipe the nozzle clean immediately after closing it.
Complete when: The brewing water is clear and odor-free, and steam flows continuously.
12:003 min
STEP 06
Warm the portafilter and prepare your first cup
Lock in the empty portafilter and allow the machine to fully preheat. Warm your cup with hot water. Dry the basket, add coffee grounds, distribute evenly, and tamp level; then you are ready for your first test extraction.
Complete when: The machine, group head, and portafilter are warm, and the basket remains dry.
FIRST ESPRESSO
Start your first cup with an adjustable baseline
These settings are a common starting point for dialing in a double espresso, not a fixed answer for every coffee or basket.
DoseAbout 18 g
Follow the markings and capacity of your double basket
YieldAbout 36 g
Start with a brew ratio of about 1:2
Time25–30 sec
Use one timing reference: pump start or the first drop
AdjustmentOne setting at a time
If flow is too fast, grind finer; if too slow, grind coarser
Weigh dose→Distribute→Level tamp→Lock in portafilter→Weigh extraction
QUICK TROUBLESHOOTING
Common situations on first startup
SymptomCheck firstRecommended action
Pump runs but no water comes outTank water level and valve seatReseat the tank firmly and briefly run the manufacturer-recommended priming sequence; do not run the pump dry for long.
Coffee finishes flowing in under 20 secondsGrind too coarse or dose too smallGrind one setting finer, then try again while keeping the dose and tamp consistent.
Only drips, or takes more than 35 secondsGrind too fine or dose too largeGrind one setting coarser, check that no grounds remain on the basket rim, and lock in again.
Steam is watery and weakPreheat status and condensateWait until steam is ready, then purge into the drip tray for 1–2 seconds before steaming milk.
AFTER THE FIRST CUP
Finish your first clean-up in two minutes
01
Rinse the Basket
Knock out the puck, rinse the basket and portafilter with clean water, and dry them.
02
Clean the Steam Wand
Wipe it immediately with a damp cloth, then briefly purge steam once more to prevent milk residue from clogging it.
03
Empty the Drip Tray
Pour out the water, rinse the grate, and wipe away water marks on the machine and counter.
04
Record Your Settings
Note the dose, yield, time, and grind setting; adjust only one variable for your next cup.
SETUP COMPLETE
Your new machine is ready.
Need further assistance? Our equipment advisors can help troubleshoot setup, water quality, and extraction issues.