Prepare the canvas
Pull a fresh espresso with a stable crema. Pour soon after extraction, before the crema becomes patchy or overly still.
HOME LATTE ART · FREE POUR
Latte art begins before the pour. Build glossy, integrated microfoam; create a stable espresso canvas; then change your pitcher height at the right moment. Start with a heart and let the same rhythm lead you into tulips and rosettas.
Practice on one cup size and one recipe until the movement feels repeatable.
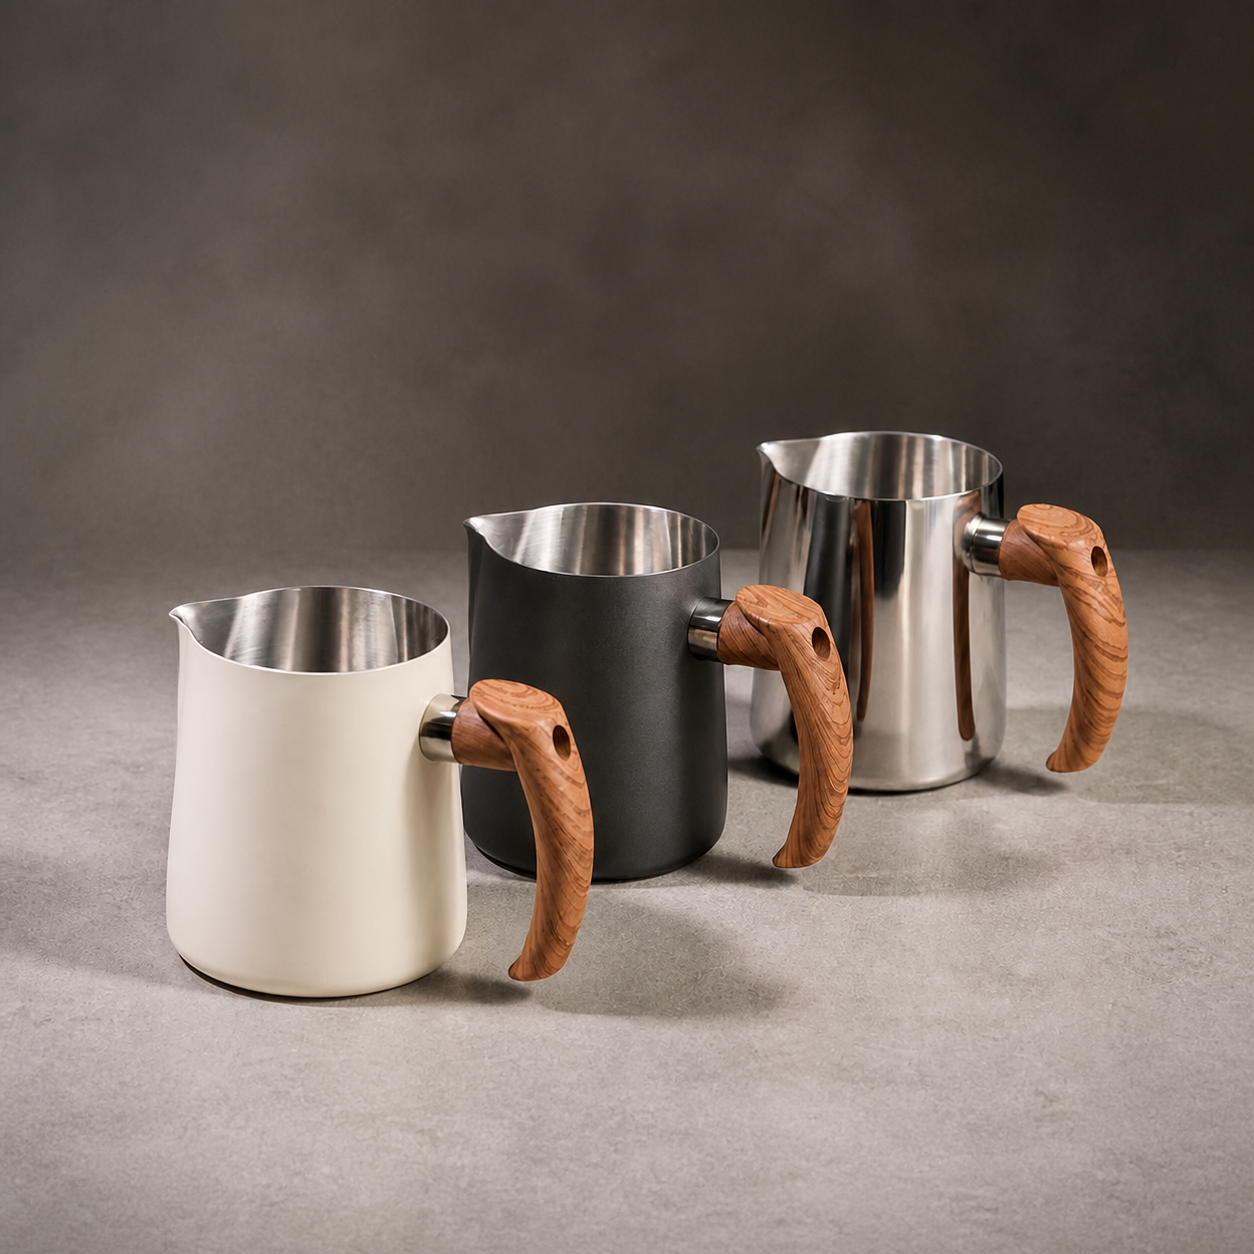
01 · THE FREE-POUR FOUNDATION
Free pouring uses the same milk to fill the cup and to draw the design. Your goal is a smooth, paint-like microfoam—not dry froth sitting on top of thin milk.
Pull a fresh espresso with a stable crema. Pour soon after extraction, before the crema becomes patchy or overly still.
Start with cold milk and room for it to expand. Briefly introduce air with the steam-tip near the surface, then lower the tip just enough to create a whirlpool. Stop steaming before overheating, then wipe and purge the wand according to your machine manual.
Swirl the pitcher until the milk looks glossy and uniform. If you see a few large bubbles, tap gently once or twice and swirl again; do not let the milk sit and separate.
Begin a few centimetres above the surface so milk blends under the crema.
When the cup is roughly half full, bring the spout close to the surface.
Increase flow slightly and let white milk appear on the surface.
Lift just enough for a thin pull-through line where the pattern needs it.
02 · START HERE
The heart teaches the core transition: integrate the milk from slightly higher, then lower the pitcher near the surface to create a round white shape.
Tilt the cup slightly and begin from a little higher. Pour into the centre until the crema and milk are integrated and the cup is around half full.
Lower the spout close to the surface in the centre. Increase flow gently and let a round white dot spread without moving the pitcher sideways.
Lift the spout slightly, reduce to a thinner stream, and draw a straight line through the dot toward the far side of the cup to form the point.
Practice cue: A lopsided heart usually means the cup or pitcher moved before the dot had time to settle. Pause, then pull through once.
03 · BUILD ON THE HEART
A tulip is a sequence of small, stacked dots. Each layer starts close to the surface, then the final line joins the stack into one flower-like form.
Integrate the milk from slightly higher until the cup is around half full. Lower the spout near the far side of the surface.
Pour a small dot, then shift only a little and pour the next dot so it touches and gently pushes into the first. Repeat for two or three layers.
Lift the spout slightly and pull a thin line through the middle of the stack in one calm motion. The line becomes the tulip stem and point.
Practice cue: Keep the dots smaller than you think. Overlarge dots leave no room for the final pull-through.
04 · CONTROL THE WIGGLE
The rosetta adds a gentle side-to-side wiggle while the spout stays close to the surface. Small, even movement gives the leaf definition.
Build the same integrated base as the heart. Lower the spout close to the surface near the far side of the cup.
Increase the flow a little and use a small, even side-to-side wiggle while moving slowly back toward yourself. Keep the spout low so the white milk stays on the surface.
As the cup nears full, stop the wiggle, lift slightly, and pull a fine line straight through the centre. This unifies the leaves into a rosetta.
Practice cue: If the leaves blur, make the wiggle smaller and slow the backward travel. Definition comes from rhythm, not a bigger shake.
05 · A SHORT PRACTICE PLAN
Ten focused minutes with one pattern will teach more than one rushed attempt at every pattern.
Steam, swirl, and pour into an empty cup or water. Look for glossy milk that moves as one body.
Repeat the same base, dot, and pull-through. Keep the cup and milk amount constant.
Choose tulip or rosetta. Stop after a few deliberate tries, note one improvement, and begin there next time.
FURTHER READING
These official guides offer additional visual demonstrations; follow your machine's safety, steaming, and cleaning instructions first.
POUR AGAIN TOMORROW
Need help with a machine, pitcher, or milk texture? Our equipment advisors can help you build a practical home routine.